
Transform your outdoor space into a personal oasis with these inspiring DIY projects. Whether you’re looking to increase curb appeal, create a relaxing patio retreat, or cultivate a vibrant garden, this guide offers a range of easy-to-follow instructions and creative ideas for enhancing your home’s outdoor living area. Discover simple yet effective ways to add value and personal style to your property with these affordable and achievable home improvement projects.
Painted Wooden Planters

Adding painted wooden planters to your outdoor space is a simple yet effective way to enhance its aesthetic appeal. This DIY project allows for significant personalization, enabling you to choose the size, shape, and color of the planters to perfectly complement your existing décor. The process involves selecting untreated wood, cutting it to your desired dimensions, assembling the planter box, and finally applying a durable, weather-resistant paint.
The beauty of this project lies in its versatility. You can create various sizes of planters, from small ones for herbs and flowers to larger ones for shrubs or even small trees. The choice of paint opens up a world of creative possibilities. Consider using bold, contrasting colors to make a statement or opt for softer, more muted tones for a subtle, elegant touch. Don’t forget to add a protective sealant after painting to ensure longevity and weather resistance.
Beyond aesthetics, painted wooden planters offer practical benefits. They provide excellent drainage for your plants, preventing root rot. The natural wood material also contributes to a more environmentally friendly approach to gardening compared to plastic alternatives. The project is relatively inexpensive and can be completed within a few hours, making it an accessible DIY endeavor for homeowners of all skill levels.
Hanging Mason Jar Lanterns
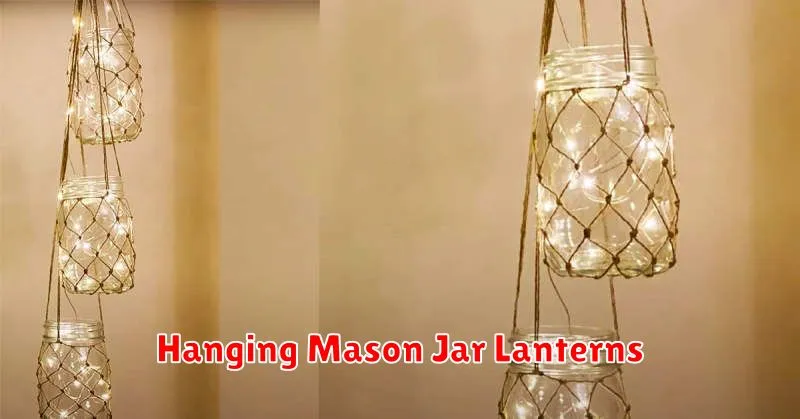
Transform ordinary mason jars into enchanting hanging lanterns to illuminate your outdoor space. This simple DIY project requires minimal materials and effort, offering a cost-effective way to enhance your home’s ambiance. You’ll need mason jars (various sizes add visual interest), battery-operated tea lights or string lights, and sturdy wire or twine for hanging.
Begin by cleaning your mason jars thoroughly. Then, carefully insert your chosen light source. For tea lights, ensure a secure fit to prevent accidental spills. If using string lights, thread them gently through the jar opening, leaving the battery pack outside. Secure the wire or twine to the jar lids for hanging. You can add decorative elements like lace, paint, or ribbon for a personalized touch.
Finally, hang your completed mason jar lanterns from trees, fences, or porch overhangs. Experiment with varying heights and groupings to create a visually appealing display. These charming lanterns provide a soft, warm glow, perfect for enhancing outdoor gatherings, creating a romantic atmosphere, or simply adding a touch of rustic elegance to your home’s exterior.
Recycled Pallet Benches
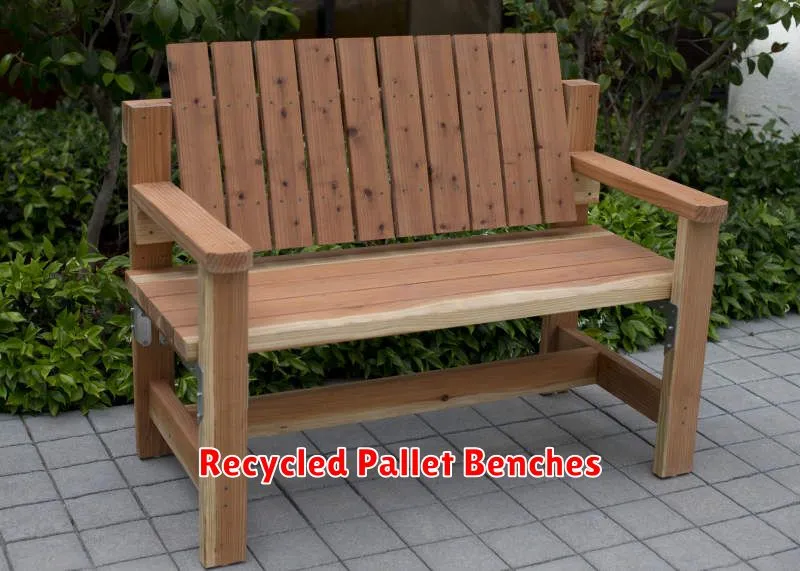
Transforming discarded wooden pallets into stylish and functional outdoor benches is a rewarding DIY project. This eco-friendly approach not only enhances your home’s aesthetic appeal but also provides a sustainable solution for repurposing materials. The process involves cleaning and sanding the pallets, ensuring they are free from splinters and other hazards before assembly.
Construction is relatively straightforward, often requiring basic tools like a saw, screws, and a drill. Depending on the desired design, you can create simple benches with a single pallet or construct more elaborate structures by connecting multiple pallets. Consider adding a cushion or a weather-resistant sealant for added comfort and durability.
The resulting bench offers a unique and charming addition to any outdoor space, perfect for patios, gardens, or decks. With minimal cost and effort, you can create a personalized seating area that reflects your individual style and contributes to a greener living environment. Remember to prioritize safety throughout the construction process.
Vertical Herb Gardens
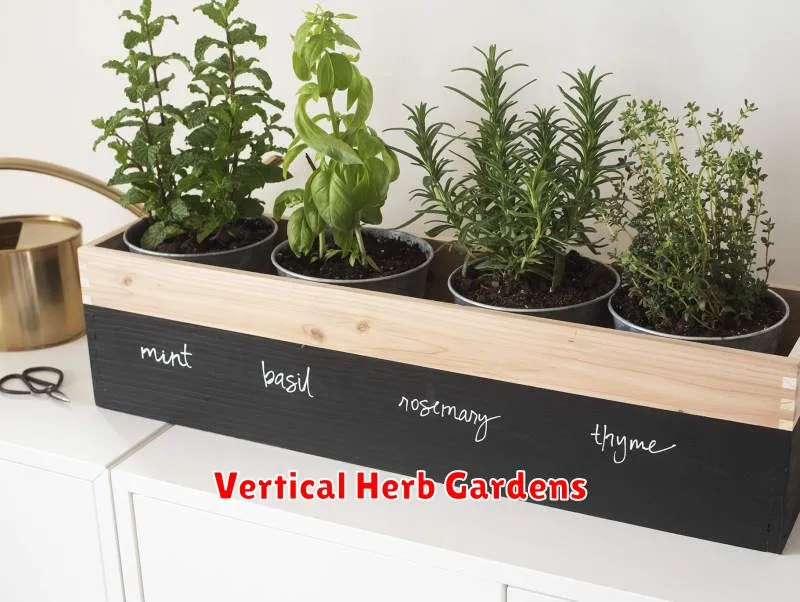
Vertical herb gardens offer a space-saving and aesthetically pleasing solution for growing herbs in limited outdoor areas. Several DIY methods exist, from repurposing pallets and ladders to using hanging planters or specialized vertical garden systems. The key is choosing a method that suits your available space and personal style.
Careful consideration should be given to the selection of herbs. Consider the sunlight requirements of your chosen herbs and ensure your vertical garden receives adequate sunlight. Proper watering and drainage are also crucial for success. Regular maintenance, including pruning and harvesting, will promote healthy growth.
With a little creativity and effort, a DIY vertical herb garden can transform a small balcony, patio, or even a section of a fence into a vibrant and productive space. The convenience of readily accessible fresh herbs adds a delightful touch to any outdoor area.
Stone Mosaic Pathways

Creating a stone mosaic pathway is a rewarding DIY project that significantly enhances your outdoor space. This relatively simple project allows for considerable creative freedom, transforming a mundane walkway into a visually stunning feature. The process involves selecting diverse stones, arranging them in a desired pattern, and securing them with a durable adhesive. The result is a unique and personalized pathway that adds both beauty and functionality to your garden or yard.
Before starting, plan the pathway’s design and gather necessary materials. This includes selecting a variety of stones in terms of size, shape, and color to achieve your preferred aesthetic. You’ll also need mortar or a strong adhesive suitable for outdoor use, and tools like a trowel, measuring tape, and possibly a grout float for filling gaps between stones. Ensure the ground is level and prepared properly for optimal adhesion and longevity of your pathway.
Consider the practical aspects, such as foot traffic and drainage. Choose stones that are durable and weather-resistant to ensure the longevity of your creation. Properly spacing the stones allows for drainage and prevents water accumulation. With careful planning and execution, a DIY stone mosaic pathway adds a touch of artistry and elegance to your home’s outdoor environment, providing a unique focal point and enhancing its overall appeal.
Rope-Wrapped Plant Hangers
Adding a touch of rustic charm to your outdoor space is easily achievable with DIY rope-wrapped plant hangers. This project requires minimal materials and skills, making it perfect for beginners. Essential materials include sturdy rope, a plant pot, and possibly some sealant to protect the rope from the elements. You’ll also need scissors or a sharp knife for cutting the rope.
The process involves carefully measuring and cutting the rope to create the desired length and style of hanger. You can create a simple loop or a more intricate design depending on your preference. Securely fasten the rope around the pot, ensuring it’s tightly bound to prevent slippage. A strong knot is crucial for long-term support.
Once completed, your stylish and functional rope-wrapped plant hanger can be hung from a hook, tree branch, or pergola, adding a unique and eye-catching element to your garden or patio. Consider using different rope thicknesses and colors to create variety and match your existing décor. This simple project offers a rewarding and cost-effective way to enhance your outdoor living area.
Bottle Garden Borders
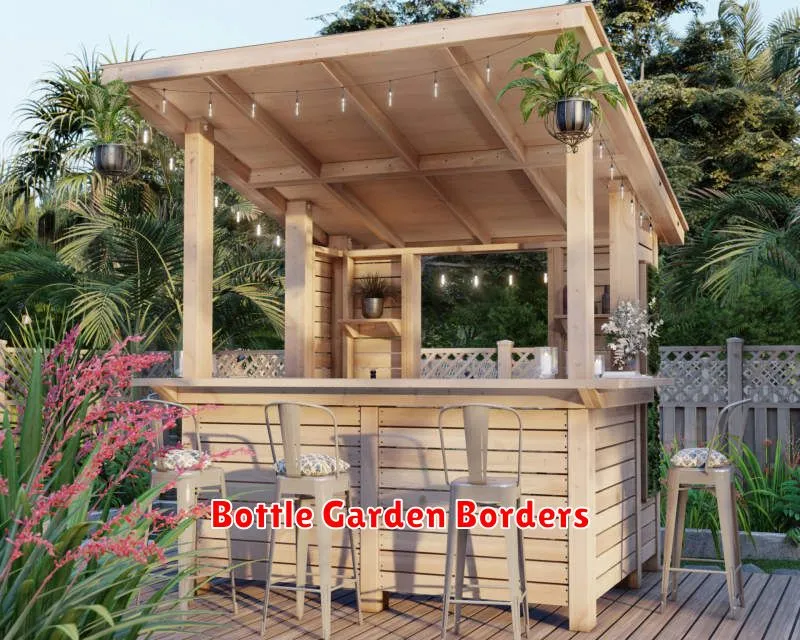
Bottle garden borders offer a unique and cost-effective way to define garden beds and add a touch of rustic charm to your outdoor space. This DIY project involves repurposing glass bottles, creating a visually appealing and functional border that prevents soil erosion and adds character to your landscaping. The process is straightforward, requiring only minimal tools and materials.
To begin, gather a collection of clean glass bottles of varying shapes and sizes. Ensure they are thoroughly cleaned and free of any labels. Then, carefully bury the bottles neck-down along the perimeter of your garden bed, ensuring they are firmly planted in the ground for stability. The uneven heights and shapes of the bottles create a natural and aesthetically pleasing border. Consider variations in bottle color to add further visual interest.
The durability and weather resistance of glass bottles make them an ideal material for this project. They require little to no maintenance and will last for years, offering a long-term solution for enhancing the beauty and functionality of your garden beds. The creative use of recycled materials adds an eco-friendly element to your home improvement endeavor.
Handmade Fire Pits
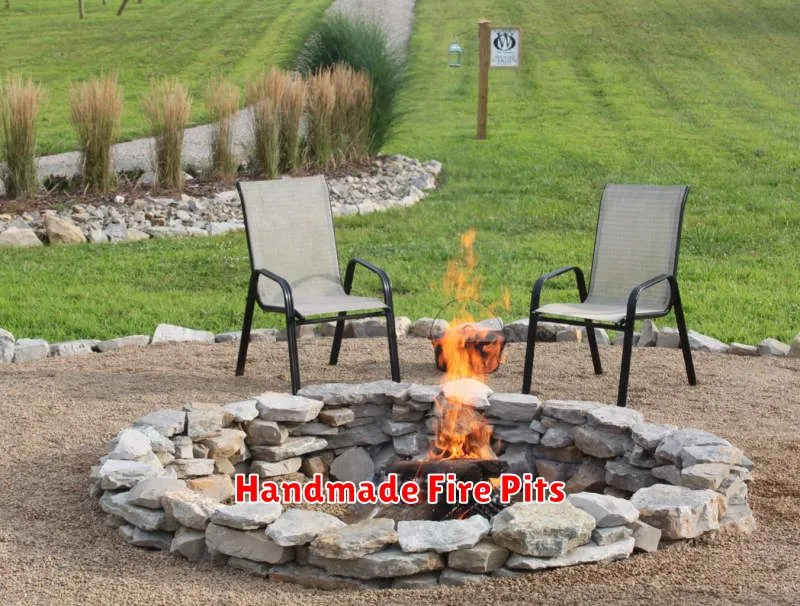
Creating a handmade fire pit is a rewarding DIY project that significantly enhances your outdoor living space. From simple designs using readily available materials like bricks or stones to more elaborate structures incorporating metal accents, the possibilities are vast and cater to varying skill levels. The key is careful planning and attention to safety, ensuring proper ventilation and a stable base to prevent accidents.
Materials commonly used include readily sourced stones, bricks, concrete pavers, and metal fire bowls. Consider the overall aesthetic of your yard when selecting materials to ensure a cohesive look. For a rustic feel, natural stones work well, while concrete pavers provide a more modern appearance. Metal fire bowls often provide a more contained and controlled burn.
Remember to prioritize safety throughout the construction process. Ensure the fire pit is positioned at a safe distance from flammable materials like dry leaves or overhanging branches. Constructing a proper base to contain embers and ashes is crucial, and always supervise the fire carefully. Enjoy the warmth and ambiance of your personalized fire pit for years to come.
Driftwood Furniture Ideas
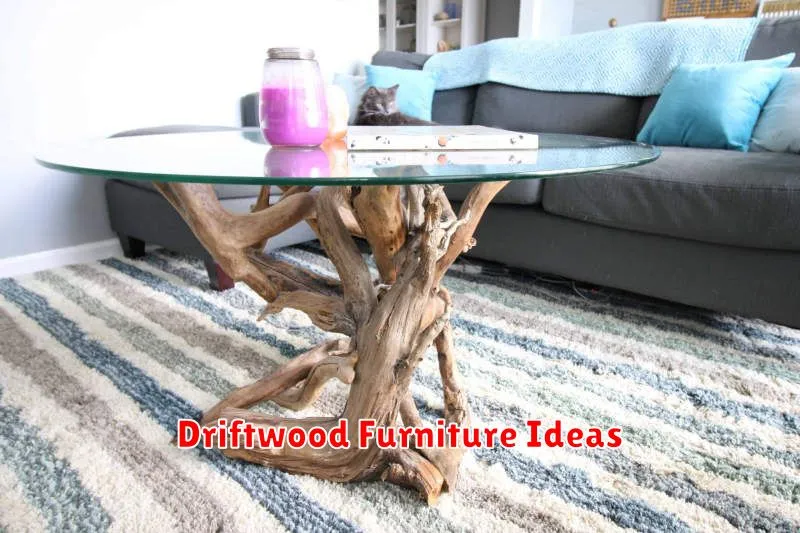
Transforming naturally weathered driftwood into unique outdoor furniture offers a sustainable and aesthetically pleasing approach to enhancing your home’s exterior. Consider creating a rustic coffee table by securing smaller pieces together with marine-grade adhesive and screws, ensuring stability and longevity in various weather conditions. The naturally occurring textures and variations in the wood create a one-of-a-kind piece.
Larger pieces of driftwood can be repurposed into striking benches or shelving units. For a bench, simply position sturdy pieces horizontally, supporting them with strategically placed legs crafted from thicker driftwood or even robust, treated lumber. For shelving, utilize smaller pieces to create unique and irregular shelves, offering a charming display space for potted plants or decorative items. Remember to sand all surfaces thoroughly before assembly for safety and comfort.
Before undertaking any project, ensure the driftwood is properly cleaned and dried to prevent rot and insect infestation. Sanding is crucial to create smooth surfaces and prevent splinters. For added protection against the elements, consider applying a high-quality, marine-grade sealant to preserve the natural beauty of the wood and extend the lifespan of your handcrafted furniture. With creativity and careful execution, driftwood can become the centerpiece of your outdoor oasis.
Upcycled Tire Planters
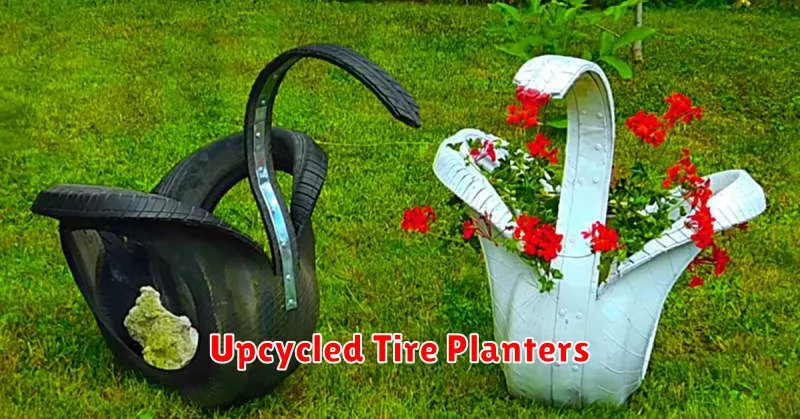
Transform discarded tires into attractive and functional planters for your outdoor space. This DIY project offers a sustainable way to enhance your garden’s aesthetic appeal while reducing waste. The process involves cleaning the tires thoroughly, preparing the planting area (possibly adding drainage holes), and then painting or decorating the tires according to your preference.
Various materials can be used to enhance the planters. Consider adding a layer of landscape fabric to retain soil, and choose a soil mix suitable for your chosen plants. Creative ideas include painting vibrant colors, adding mosaic tiles, or even using rope or other materials to create textured surfaces. The possibilities are limited only by your imagination.
Upcycled tire planters provide a unique and eco-friendly solution for adding pops of color and greenery to your yard or patio. Their durability and adaptability make them a practical and visually appealing choice for a wide range of plants, from flowering annuals to hardy herbs and vegetables. The cost-effectiveness further enhances their appeal as a budget-friendly landscaping option.